Making My Dream Coat


Hello hello!
If you have been following me on Instagram for a while, you may know that I became somewhat obsessed with finding the perfect oversized coat pattern a while ago. I was looking for a classic design with a notched lapel, either raglan sleeves or drop shoulders, and a really nice and slouchy fit. I looked everywhere and couldn’t find just the right thing, so I put the whole project on hold for a bit.
Fast forward a few months, I found the dreamiest wool in my latest big fabric shopping spree in Antalya. I fell in love with it so hard that it gave me the motivation to start looking again, and guess what? I did it! I landed on a trench coat pattern by Burda Style and modified it a bit to turn it into the coat pattern of my dreams.
Now am I a little sad that it’s almost the end of April and the weather is getting warmer and there isn’t much opportunity for me to wear a wool coat out and about? Yes. Will the warmer weather stop me from wearing it at least a couple of times before the hell season (also known as summer) fully kicks in? No way! I never wished I lived on the Southern Hemisphere more, but I will be excitedly waiting for autumn and winter to come back around <3
Pattern & Sizing
The pattern is the Trenchcoat no.120 from 01/18, and it belongs to Burda Style’s tall range. The size range is… bad, to say the least. It comes in 5 sizes ranging from 72 to 88, which roughly translates to European sizes 36 to 44. Let’s look at where I landed on their size chart:

My measurements (B: 76, W: 58, H: 86) are circled on the size chart, and I’m 163 cm tall. As mentioned above, the pattern I got came in sizes 72 to 88. Link to the Burda Measurement Guide.
Now, judging by these three measurements, I would have landed at a size 64 or 68. However, I have learned my lesson when it comes to top patterns and I never pick my size based on my bust measurement anymore. Instead, I go by my high bust measurement (which is 78 cm / 31”) since it’s bigger than my full bust measurement (76 cm / 30”) and do a small bust adjustment if the pattern calls for one. From what I can tell, Burda Style doesn’t offer any information of which cup sizes they draft for, but I took the liberty of assuming it was a B cup since that seems to be somewhat of a standard for these sizes. To find the approximate high bust measurements, I subtracted 5 cm / 2” from the bust measurements on the table above (2.5 cm / 1” per cup size, therefore 5 cm / 2” for a B cup).
That left me with the following size chart:

Judging by this, I landed closer to a size 72, since I most cared about the shoulders fitting right on me. But since I wanted as oversized of a fit as I could get (while. still looking like I was wearing a coat that was made for me and not for my dad) I decided to size up and go with a size 76 (equivalent of a Europeans size 38).
I’m very happy with my decision to follow my high bust measurement and then to size up, the coat fits me exactly how I wanted it to. The shoulder area is super comfortable, nothing feels restrictive. The final coat also has a lovely slouchy fit reminiscent of 80’s coats, and you know I’m all here for that vibe.
After making my toile, I decided that the overall fit was just right, but I had to make some adjustments to the length of the body and the sleeves since this was drafted for someone 13 cm taller than me. I ended up shortening the sleeves by 5 cm / 2”, and the body by 10 cm / 4”.
I also made a few modifications to the pattern, since it was designed as a trench coat pattern and I was more interested in making a more minimal wool coat. I omitted the flap on the right side of the chest, the flap on the back, the strange patch pockets, and all the belts / buckles / straps that came with the pattern. I sharpened the corners of the collar and the lapels, put in slanted welt pockets, and added sewn in straps to the wrists. I also cut the under collar in two pieces and on the bias instead of cutting it as one piece on fold and on the straight grain as instructed.
Fabric Details
The main fabric I used was this unbelievably beautiful wool in a dark golden olive colour. If you look at it closely you can see tiny flecks of pinks, blues and browns which gives the overall colour lots of dimension. The colour really shifts in different lighting situations, but I would say it has a consistent warm green hue. It’s on the thinner side of the wool family and has a lovely drape to it, making it perfect for a flowy oversized coat like this.
Image Description: A closeup picture of the wool fabric I used for the coat. It has flecks of pinks, blues and browns in it and a base colour of a golden olive green.
For the lining, I visited one of my favourite sewing related shops in Ankara, Moda Astar in Moda Çarşısı. It’s a small store that sells every colour and print of lining fabric you could every dream of, and I was so happy to finally have a reason to go and pick out one of their beautiful lining fabrics! I went with a green-gold patterned one that reflects a warm pink-brown colour when you move it. It mimics the tones of the main fabric so perfectly, I still can’t believe my luck! I was always scared of using “actual” lining fabrics for a loooong time now, because I thought they would be a slippery shifty nightmare to cut, but I was pleasantly surprised at how easy it was to work with. Yay for being brave and trying new things!
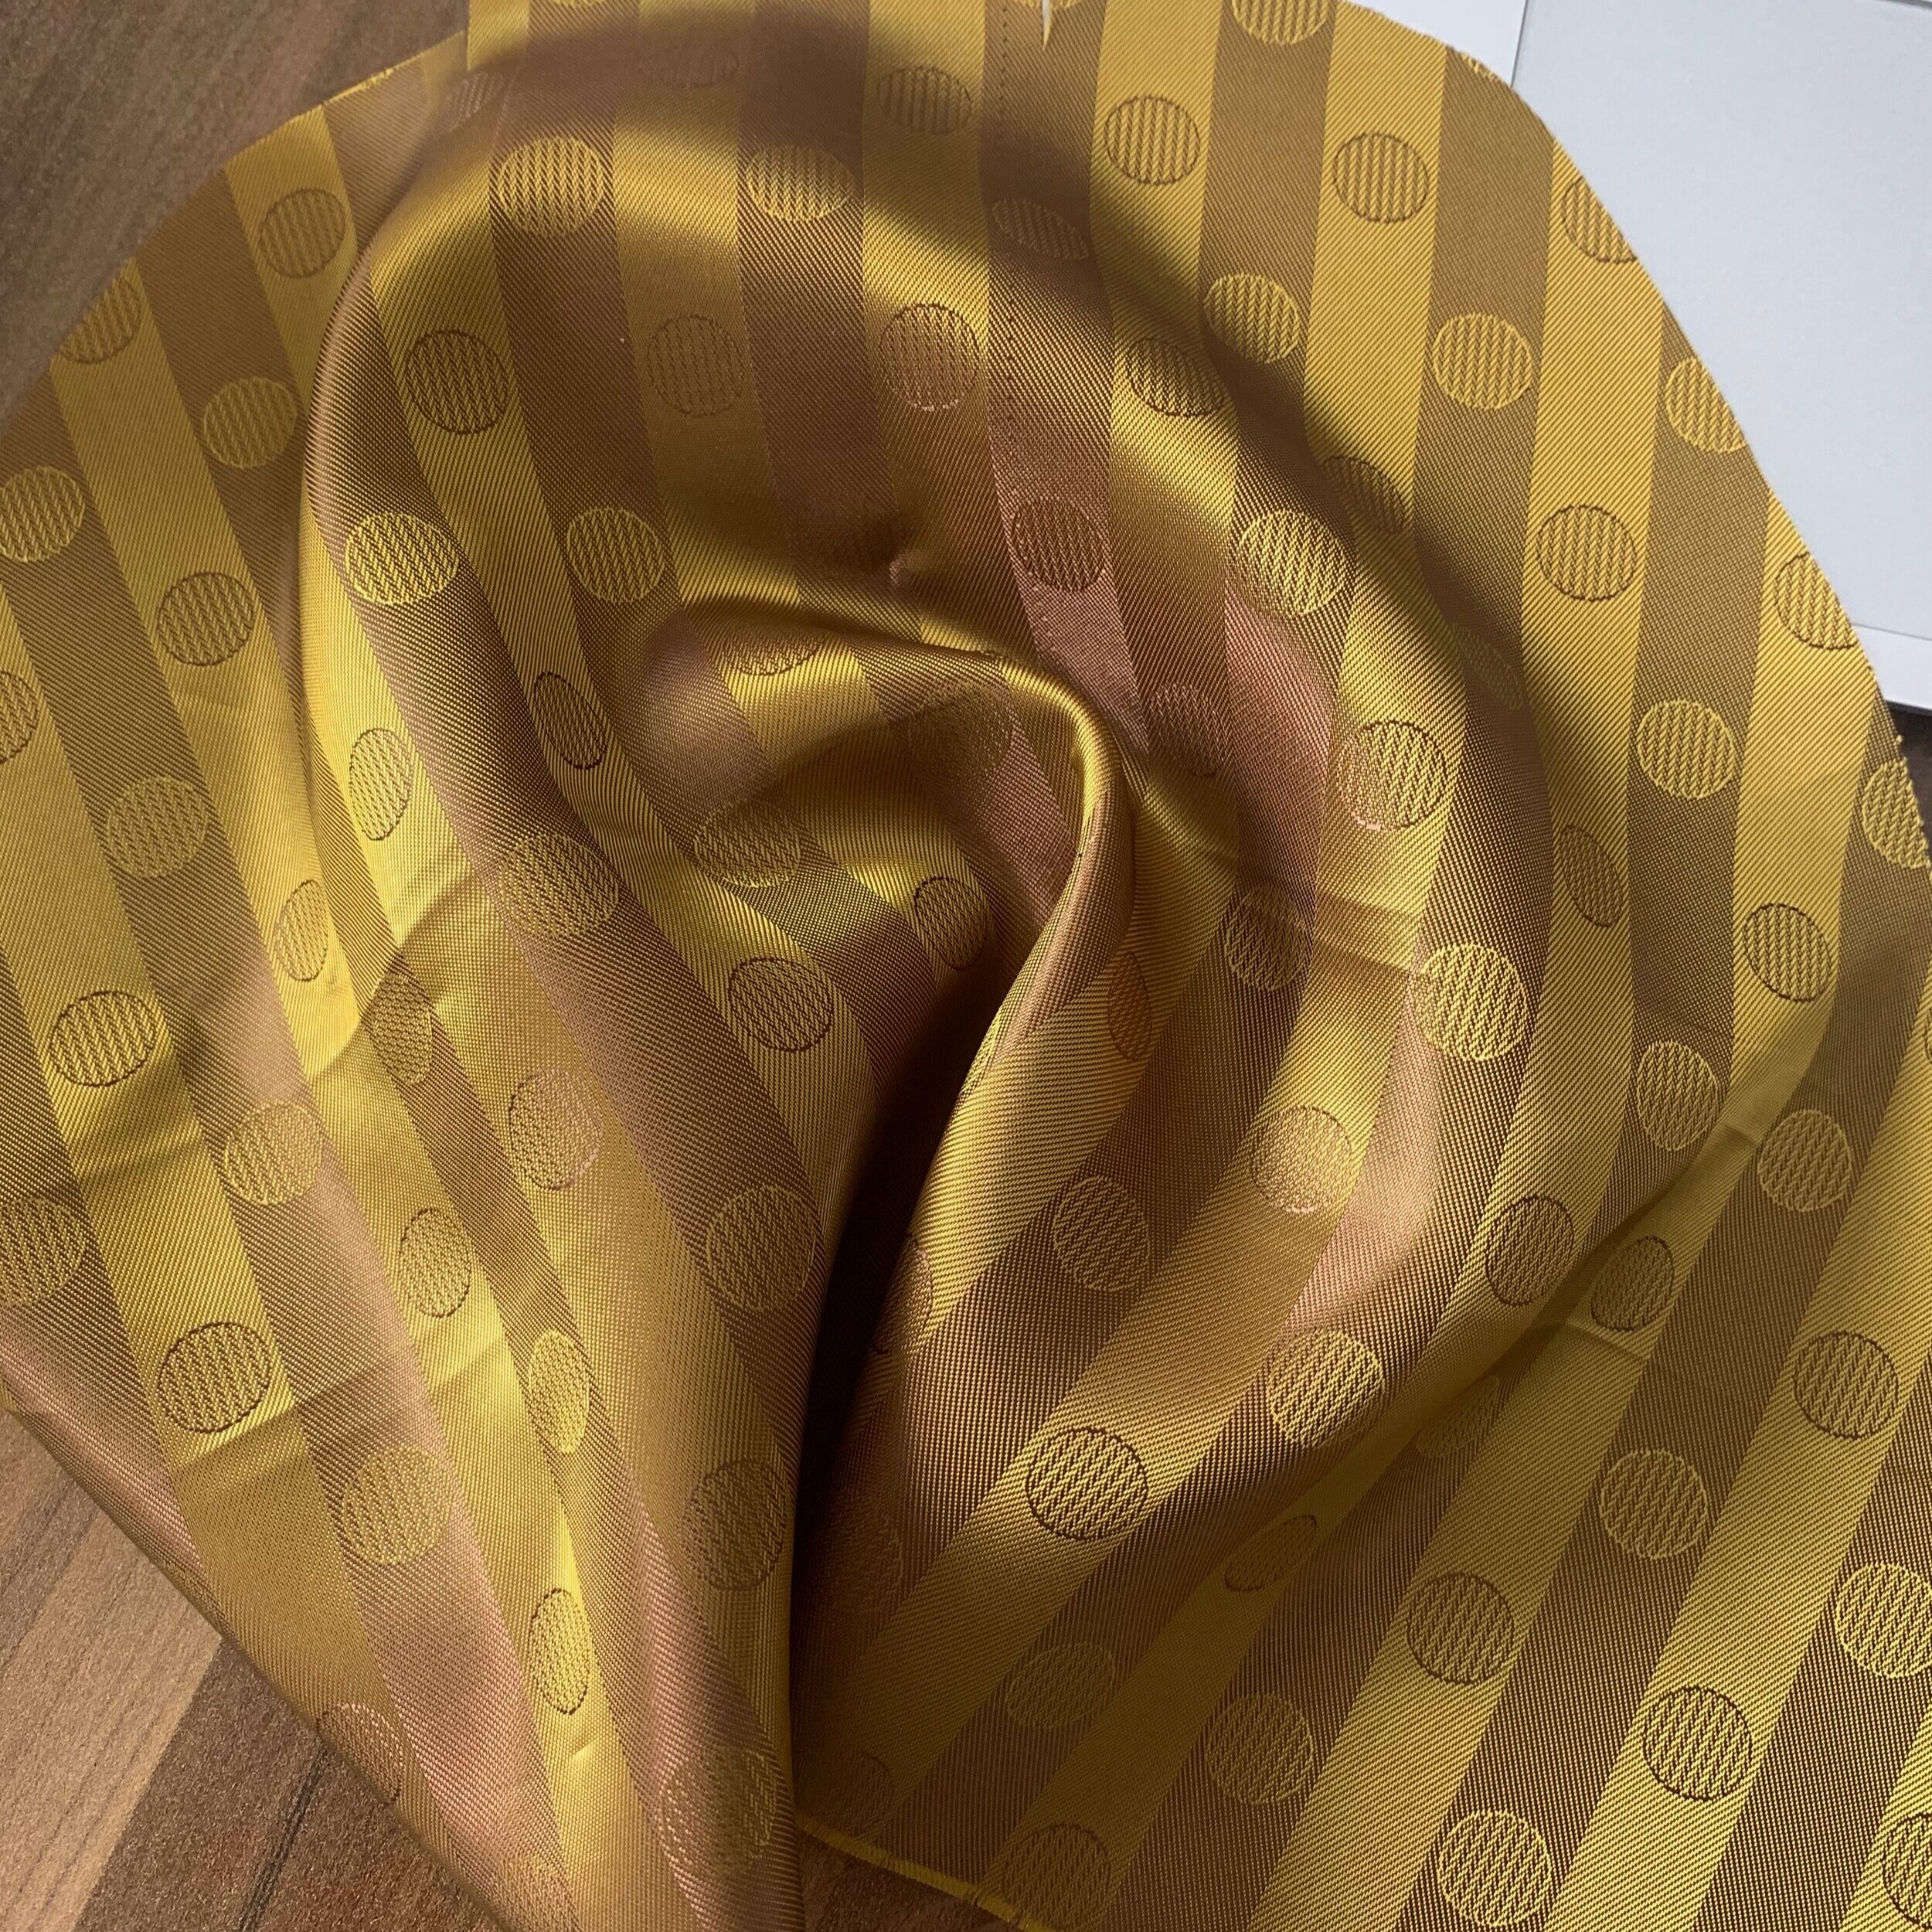
Image Description: A closeup picture of the lining fabric I used for the coat. It’s a green gold colour with a herringbone twill weave. It has 1.25 cm thick vertical stripes in darker and lighter tones of the green gold colour. It shifts into a warm pink-brown colour when it moves. There are circles filled in with tiny stripes placed in the stripes of the fabric.

Construction Details
I decided to keep the coat as lightly supported as possible, while making sure it was strong enough to carry the weight of the fabric. I put in some back stays made out of medium weight cotton gabardine to the back panels, used fusible interfacing on the facing pieces and the top collar & collar stand, as well as around the pockets, hems and vent. I also interfaced the wrist straps and the welt pieces of the pockets. I think I did a good job deciding on how to support the garment: it hangs really nicely up top, the back feels stable, but it’s still super flowy and drapey.
For the pockets, I wanted to try my hand at these single welt pockets that are sort of raised (is there an actual specific name for this pocket style?). They were incredibly easy to construct to my great surprise, and I documented my process on my Instagram stories, which are all saved to a highlight. The pocket bags are also made out of the cotton gabardine instead of the lining fabric, because I have having cold-to-the-touch fabric for pockets.
For the back vent I followed the instrcutions from the Jasika Blazer by Closet Core Patterns, and it went super smoothly! I’ve never done one before so it was one of the scariest parts of the projects for me, but I’m glad it worked out nicely. I got a bit panicked and confused when it came to lining the vent and did my own thing, resulting in slightly funny looking insides, but it’s on there, it’s secure, and it looks good from the outside which is all I could ask for :’)
I was dead set on adding these wrist strap things from the very beginning, since a lot of my inspiration pictures featured a similar design and I really liked that detail. At first I thought I was going to make them functional by putting a buttonhole at the free end of the strap and two buttons on the sleeve: one would keep the wrist relaxed and in its full width, and one would sinch it in. However while making the actual coat I decided that I wanted a sleeker look, so I actually permanently sewed the two ends of the straps in. They gather the sleeves every so slightly, and I absolutely love how they turned out.
For more details on the making-of process, be sure to check out my Raglan Coat highlight on my Instagram! I documented quite a bit of my process making it over on my stories :)


Final Thoughts
As you can probably guess, I love this coat with all my heart and soul. I wanted a coat like this for years and years, and I’m over the moon that I finally have it! It looks amazing when paired with my million pleated trousers and shirts, but it looks equally cool when worn over a more casual outfit like jeans and t-shirts. It has a clean and minimal look to it but the fabric’s colour and texture stops it from looking boring. It’s just the perfect blend of 80’s nostalgia and modern day minimalist aesthetics and I’m all here for it. If anyone asks for me I’ll be sitting here in my new favourite coat patiently waiting for the colder months to return!

